Start here
Build your first deck
Create a straightforward attached deck, add stairs, review the structure, and export a usable plan set.
What you will accomplish
- Create and name a customer job
- Size an attached deck section
- Add a stair and review its supports
- Check takeoff and export readiness
Job snapshot
- Example
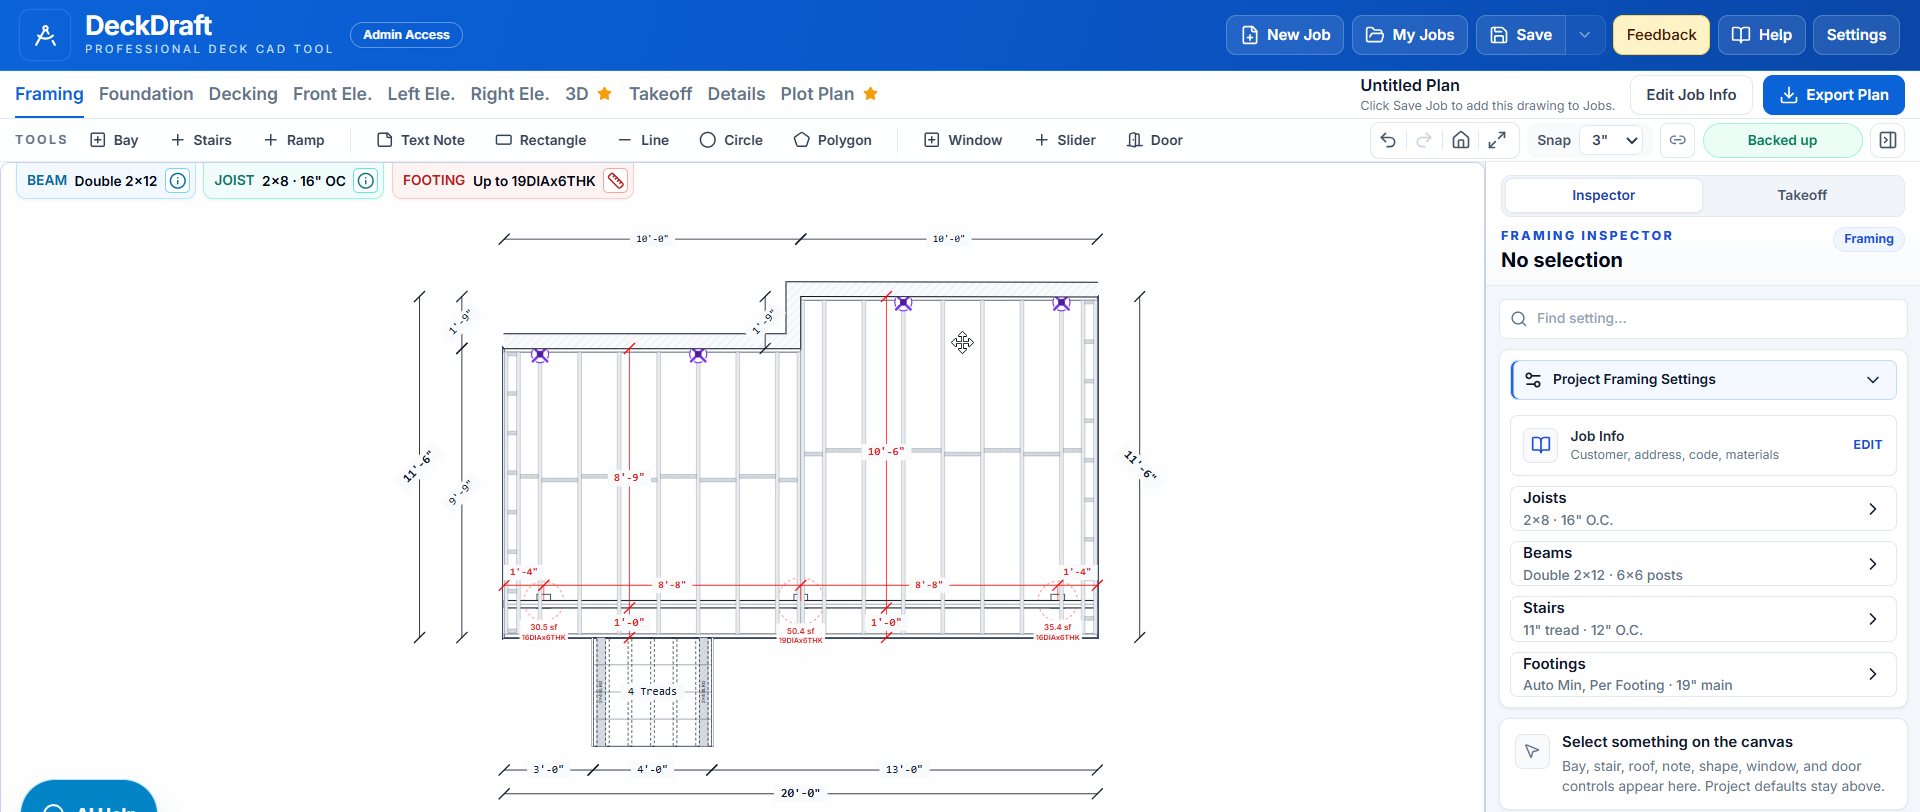
- 20' × 12' attached deck
- Height
- 2'-11"
- Access
- 4' front stair
- Framing
- Traditional wood
Start the job before you tune the structure
Open New Job, then add the customer and site information you already have. A customer name is enough to begin, but the complete street, city, state, and ZIP make the exported title block and file name more useful.
DeckDraft starts with a practical rectangular deck section so you can work from a known layout instead of a completely empty canvas.
- 1Open New JobSave the current job first if DeckDraft warns that the drawing on screen has not been saved.
- 2Choose Edit Job InfoEnter the customer and site information. These values follow the saved job and exported plan set.
- 3Return to FramingFraming is the main layout and structure view. Most job decisions begin here.
Size and place the deck
Select the deck section on the canvas. Enter the width along the house and the projection away from the house in the Geometry & edges controls. Feet-inch values such as 20'-0" and decimal feet are both accepted.
Confirm the deck height and Attachment type. Use Ledger for a house-attached deck, Freestanding Against House when the deck sits beside the home without structural ledger support, or Freestanding Platform when the deck is independent of the house.
- Use the dimension fields for exact sizes.
- Use canvas grabbers for fast visual adjustment.
- Lock the section after the footprint and location are settled.
- Review house-wall returns and bump-outs before adding connected sections.
Add the stair and verify where it lands
Choose Stairs to add a default flight, then select the stair. Set the edge, width, tread count, and fixed riser height. The default 7 1/4-inch rise and tread count drive the connected source deck height.
Choose the lower support condition that matches the intended build. A concrete pad and individual round or square footings produce different foundation and takeoff results.
- 1Set the stair edgeChoose Front, Left, or Right. Drag the stair along the selected deck edge to place it.
- 2Set width and treadsConfirm the clear width, tread count, and fixed riser height against the project requirements. The riser can be explicitly adjusted from 4 through 7 3/4 inches.
- 3Set rails and bottom supportKeep only the required rail sides and select the actual landing or footing condition.
Review the connected output
Move through Foundation, Decking, an elevation, Details, and Takeoff. You are checking the same design from different job perspectives, not creating separate drawings.
Resolve important advisor markers, confirm the takeoff assumptions, and use Export Plan when the customer information and drawing are ready.
- Foundation: footing count, size, and placement.
- Decking: board direction, borders, seams, rails, and fascia.
- Elevation: grade, stair rise, rails, posts, and house relationship.
- Details: the project-specific connection set.
- Takeoff: stock lengths, hardware allowances, and review notes.
Still unclear?
Ask Docs AI about this page, or open DeckDraft when you need AI Help to read the active job.