Framing & dimensions
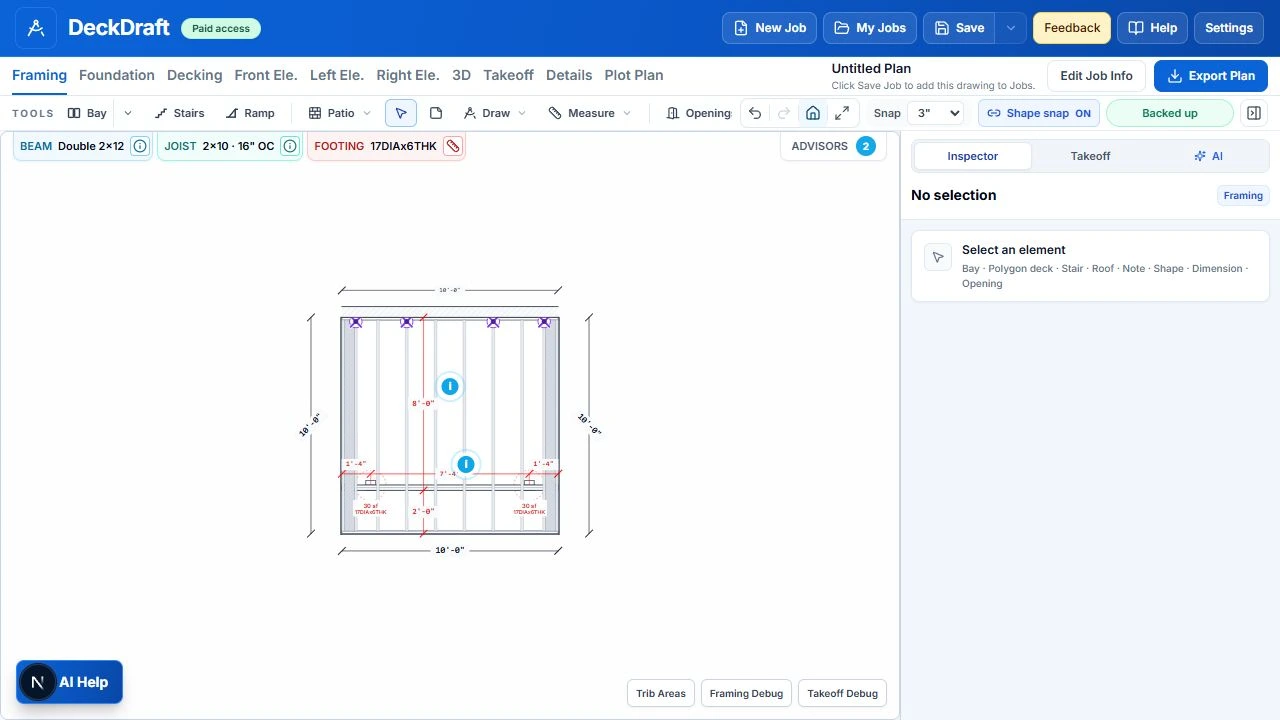
Bay and stair geometry generate the associated linework, member layout, and dimensions.
Automatic deck plans, framing & takeoffs
You supply the deck parts and dimensions. DeckDraft automatically generates the framing, plan views, elevations, and material takeoffs. Built-in advisors help you find unnecessary material while you keep control of the design.
No line-by-line drafting. No CAD experience required.
14-day trial. No card required. No automatic conversion.
01 / + Bay
Click Bay to place a deck section. Enter its width, depth, and height for the job. DeckDraft generates the joists, beams, supports, and dimensions using your project settings.
Add and connect more bays for a larger or more detailed layout. You work with deck sections and dimensions; the software maintains the drawing.
02 / + Stairs
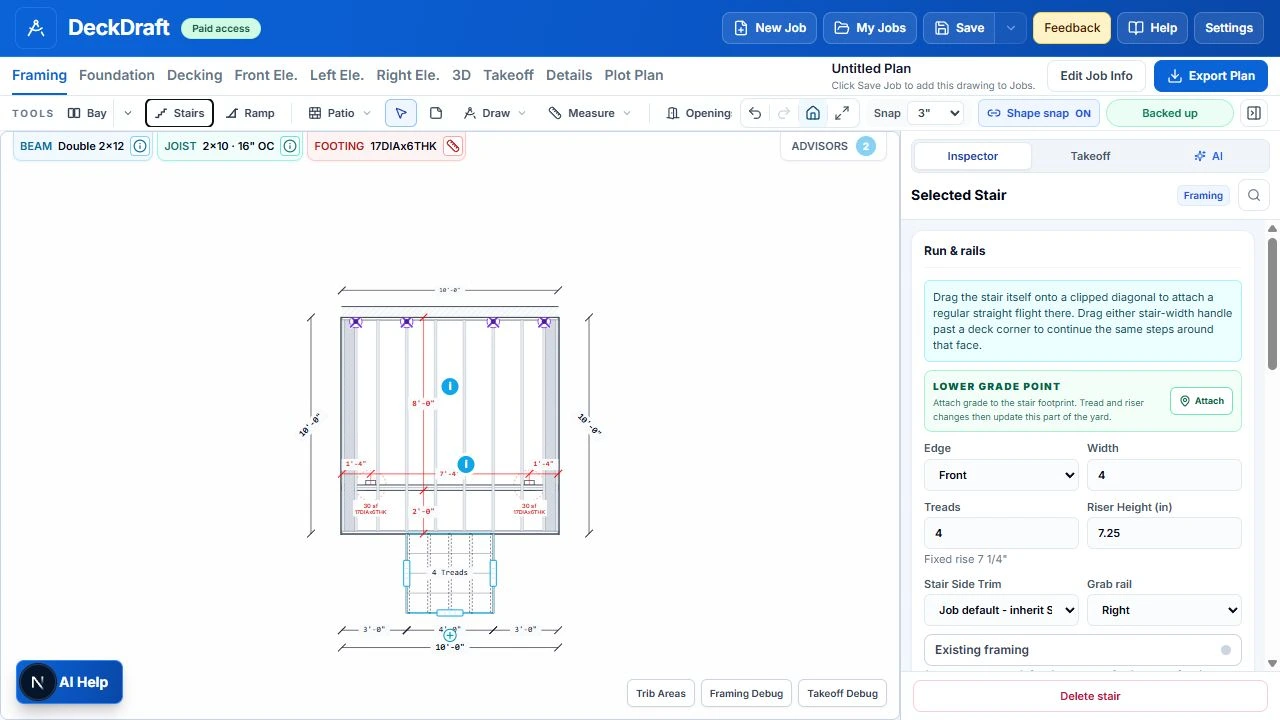
Click Stairs to add a flight to the deck. Adjust its position, width, or treads to suit the site. The stair framing and dimensions follow the stair you place.
The same project supplies the framing plan, decking view, elevations, and material quantities. A change stays part of the model you are already working on.
03 / Export Plan
Review your project information and framing checks, then click Export Plan. Choose the sheets you need and create the PDF from the drawing already on screen.
Company branding, customer information, and plan callouts can travel with your package. Plans, elevations, and details come from one project.
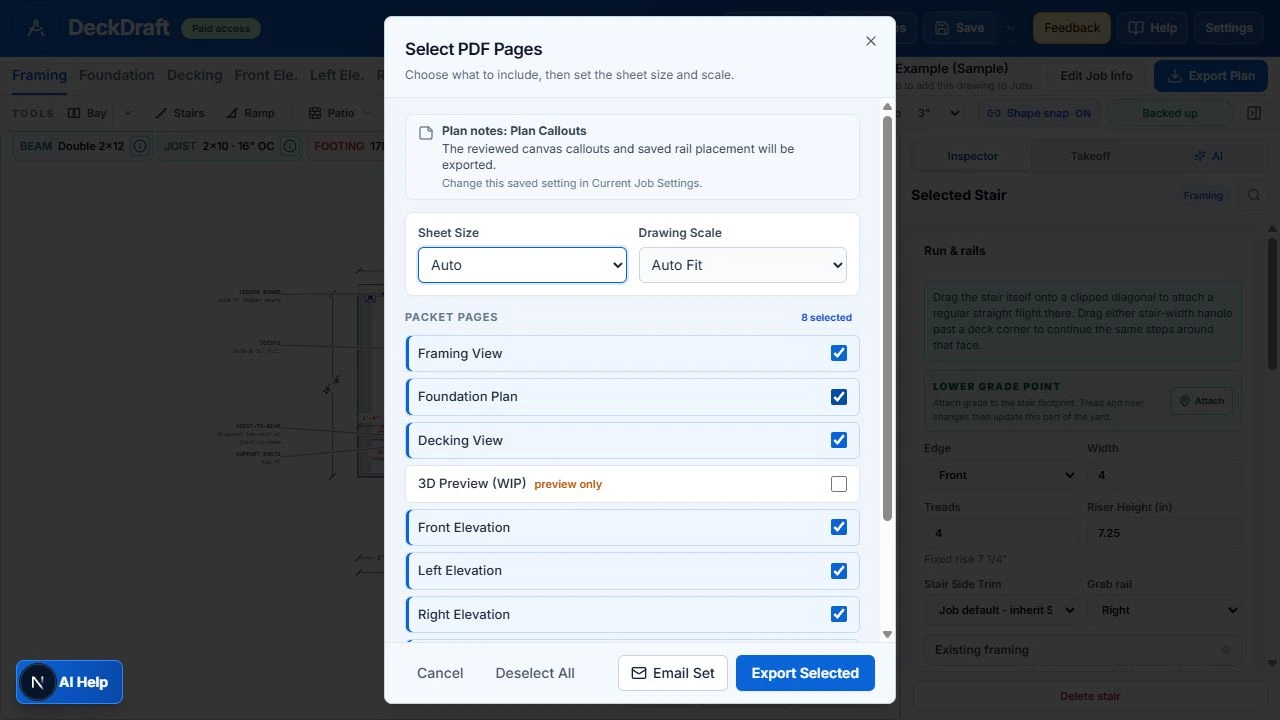
This walkthrough uses a fictional 10′ × 10′ deck and standard starting settings. Enter your job dimensions, confirm site conditions, and review the plans for your project.
One model, coordinated output
Bay and stair geometry generate the associated linework, member layout, and dimensions.
Review the same project from above and from the side, with no separate drawing to reconstruct.
Model-based quantities follow the project, including stock-length planning for supported material rows.
Combine selected drawings, details, and project information into a PDF for the next handoff.
Material efficiency & construction methods
Plan Advisors bring span checks and design opportunities into the workflow. Review a suggestion, adjust the plan, and see the resulting framing and quantities.
Compare the whole change: lumber, hardware, footings, and installation. A shorter material list does not always mean a lower total cost.
Explore framing & Plan Advisors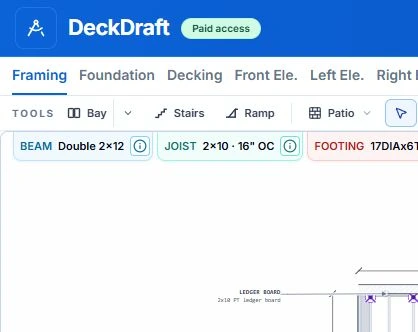
Automatic generation. Contractor control.
Automatic generation and detailed customization work together in DeckDraftCAD. Set your usual framing sizes, spacing, blocking, connections, and finish choices once. Then adapt the generated plan: ladder or flat blocking, drop or upset beams, post positions, footing settings, stairs, and more.
Explore the full feature setBuilt-in checks support project review. Verify local requirements and obtain engineering where the job requires it.
About the workflow
No. Standard bays and stairs generate their associated framing and dimensions from your project settings. You place deck parts and enter dimensions, then adjust the design where the job needs it. Line and annotation tools are available for additional details.
DeckDraft generates coordinated plan and elevation views and model-based material quantities from the same project. Export Plan assembles the selected sheets into a PDF. Review the project, sheet selection, and quantities before submission or ordering.
Yes. Adjust member sizes, beam layouts, support positions, connections, blocking, and other supported construction details. Save your usual methods as installer defaults and use Plan Advisors to review the resulting framing conditions.
Design Advisor identifies supported opportunities to change member sizes, support layouts, or spacing. Takeoffs account for modeled cuts and available stock lengths in supported material rows. Actual cost savings depend on the starting design, materials, supplier prices, hardware, and installation costs.
A basic layout starts with adding a bay and stairs; their framing is generated as you work. Total project time depends on dimensions, site conditions, customization, review, and the sheets you need. The walkthrough shows the actual steps so you can judge the workflow on your own work.
14 days. No card. Help with your first real project.